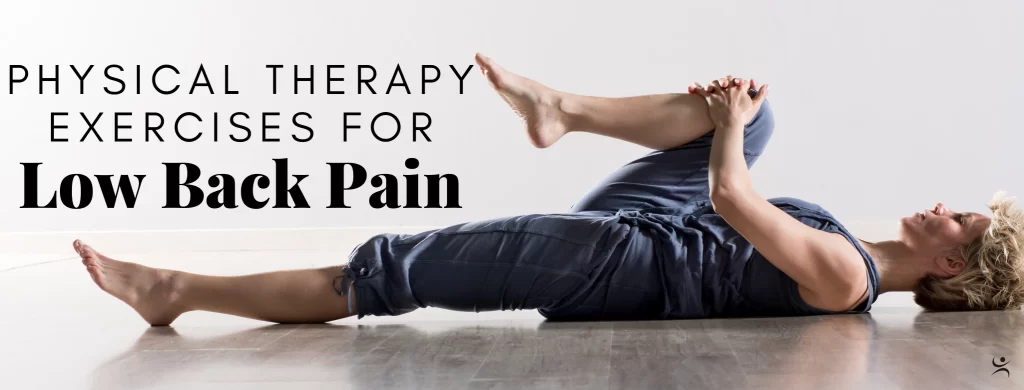
Low back pain is among the most common reasons patients come to Chicago Sports and Spine. It is known that physical therapy is not only one of the first-line treatments for low back pain but also one of the most effective. This is how The Pain Minute: Physical Therapy came about.
We want to offer resources that our patients could refer to from the comfort of their own home. We would like to share with you five exercises that you can do at home to help reduce and prevent low back pain.

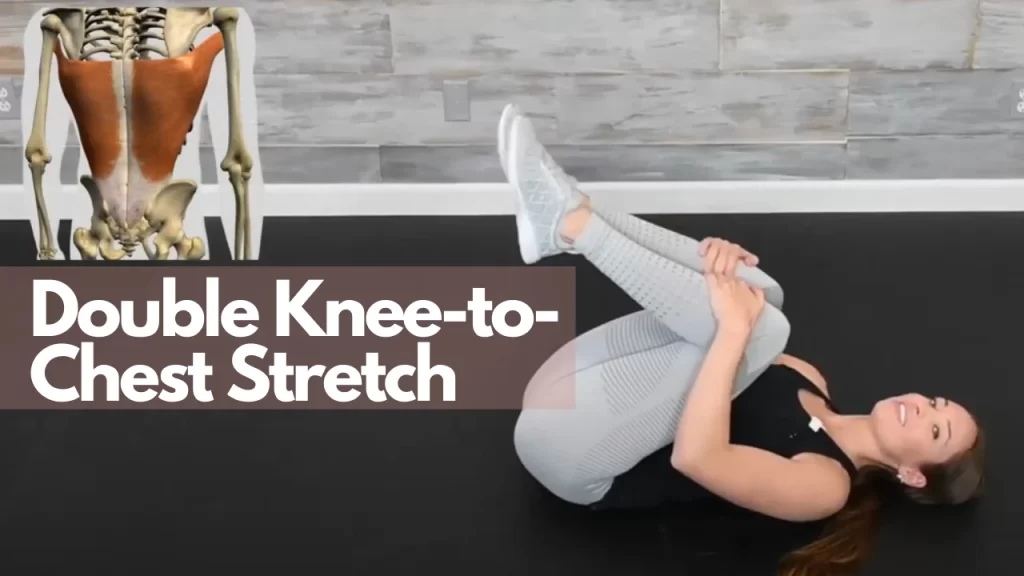
- Double Knee-to-Chest Stretch

This exercise is going into spine flection, meaning we’re elongating some of those muscles that run up and down the spine. This stretch should feel good and be fairly easy to do. For the double-knee-to chest, be sure to you 20 repetitions.
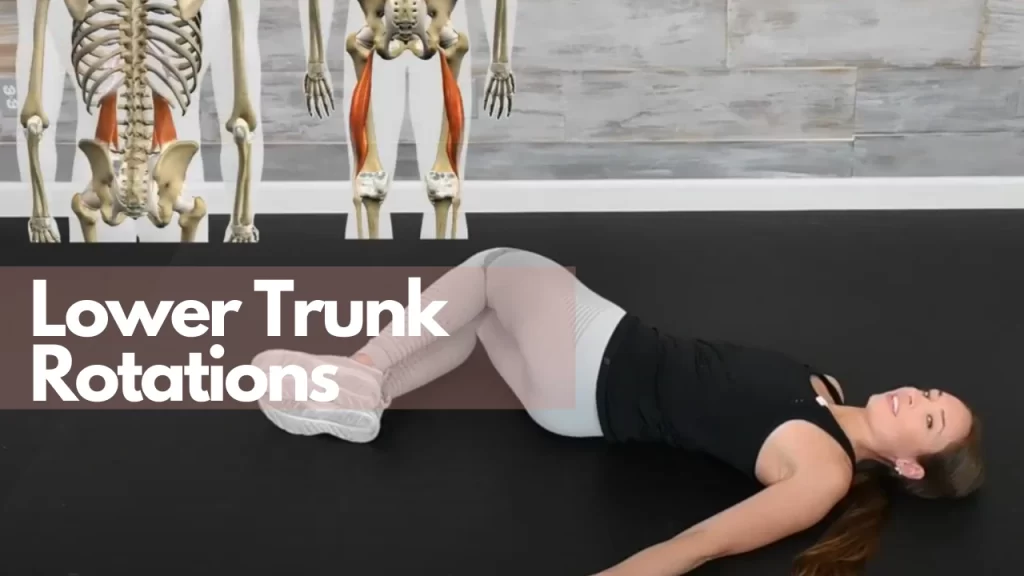
2. Lower Trunk Rotations

Slowly drop those knees down – hold for a moment, and return. We will then go over to the other side. This exercise is getting a stretch in the lower back as well as the outer thighs. We’re getting some rotational mobility or movement in the low back. Getting that spine moving a little bit better. With each rep, you may find that you can go a little bit farther, which is a good sign. We’re using the core muscles to help us with this stretch. Be sure to do 20 repetitions on each side.
3. Piriformis Stretch

Firstly, you want you to raise your right leg up toward you. Grab the right knee and the right ankle at the same time and pull both of them toward the left shoulder. It is similar to the knee-to-chest stretch, but we’re going at an angle this time.
You should feel a deep stretch in that right hip. This exercise is a static stretch so you should hold for 30 seconds or so on this leg. As you do so over time, you may feel like you don’t feel much of a stretch so just pull in a little bit more as those muscles start to relax and release. When about 30 seconds is up, you can lower that light down, repeat on the other leg. So left leg, hold the left knee and left ankle. Pull both of them toward the right shoulder this time, stretching the piriformis and some of those glute muscles. This is a great stretch if you have back pain because a lot of times that back pain radiates down into the hips and legs. This stretch is gonna help release that area. Hopefully, there will be less pressure on that sciatic nerve. Once again, it is a 30-second hold on each leg for the piriformis stretch.
4. Hamstring Stretch

This is a static stretch and your goal is to hold for 30 seconds. Once you’re done, switch to the other side, straighten the leg, pull it in toward your chest, and hold for 30 seconds. Keeping that knee straight, squeeze those quadriceps or thigh muscles to keep it even straighter. Be sure to hold this for 30-seconds.
5. The Pelvic Tilt (Posterior Tilt)

To go into a posterior tilt, you want to pretend as if you’re smushing a gummy bear under your lower back. Pull the belly button down toward the ground. Tilt the pelvis and the pubic bone so it points up. The pelvis is tucking under and you should have flattened the back. You should no longer be able to press your hand underneath. This is our posterior pelvic tilt.
So once again, you are going from neutral to a posterior tilt, contracting those abdominals for one or two seconds, and then relax. For this final exercise, your goal is 20 repetitions.
We hope these exercises bring you great relief! If any of these stretches helped alleviate your low back pain, be sure to let us know in the comment section of our YouTube video or our Facebook page.
For more informative pain-management videos, subscribe to our YouTube channel, The Pain Minute, so you can get notified every time we release a new video!
Sincerely,
Baljinder Bathla, M.D.
